Aluminium Flame Brazing – Basics Part 3
Procedure
This section describes the necessary steps and control procedures to ensure a properly brazed joint.
1. Clean the Components
The joint area must be cleaned free of cutting and machining lubricants. Aqueous cleaning, solvent dipping or wiping are acceptable procedures.
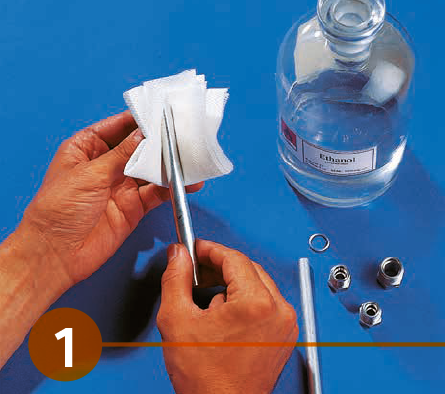
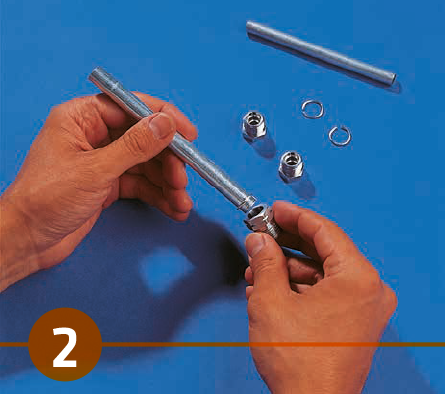
2. Assemble the Components
The components are assembled with the filler alloy ring in place. There must be intimate contact between the two components to be joined and the alloy ring.
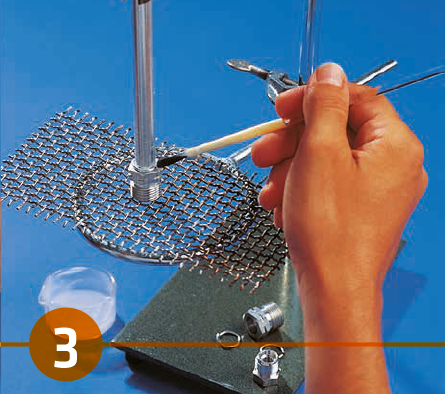
3. Apply the Flux
The flux is then applied with a small brush around the circumference of the joint at a loading of about 25 to 30 g/m2.
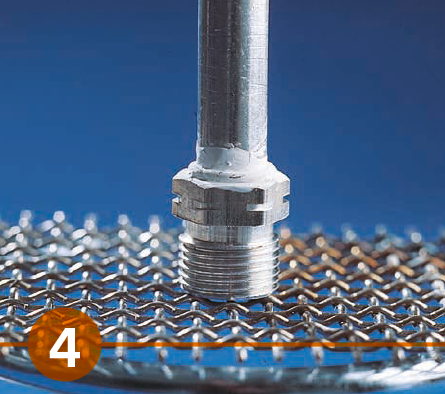
4. Dry the Flux
The flux should be allowed to dry before the application of intense heat to begin brazing. This can be done by allowing the joint to air dry or alternatively by gently heating the surrounding joint area with the flame, which will heat the metal and dry the flux. Intense heat should be avoided before the flux has dried, otherwise splattering and flux fall-off will occur.
5. Heating
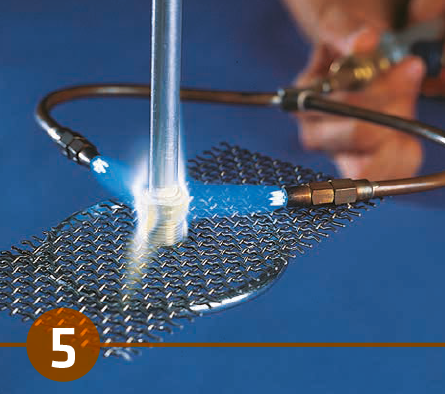
Once the flux has dried, more intense heat to begin the actual braze sequence can be applied. The braze flame should not be allowed to impinge on any one area very long to avoid overheating and burnthrough. The component with the higher thermal mass should be heated more. The flame should not be allowed to rest on the flux or preform ring to avoid premature melting before the joint area is uniformly heated to braze temperature. The flame should be kept moving at all times, moving back and forth between the components of different mass in such a way as to bring the entire joint to temperature uniformly.
There are three temperature indications in NOCOLOK ® flux flame brazing. The first is the appearance of a yellow flame at the Al surface. This indicates that the surface is starting to overheat/burn, since the aluminum skin always runs hotter than the component center.
The flame must visit the area less frequently to avoid burning. The second indicator is the first sign of flux melting, that is the fluxed area turns from white to clear. This indicates that the joint temperature is about 565 °C.
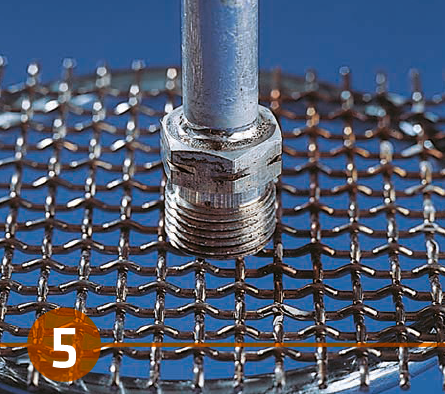
At this point the flames can be played directly on the joint and filler metal ring. Very shortly after flux melting, the filler metal ring begins to loose shape (third temperature indicator) and begins to melt at 577 °C. The molten filler metal is quickly drawn into the joint by capillary action. As soon as the full preform ring is molten, the flame should be quickly removed and the brazed joint allowed to cool.
6. Post Braze Treatment
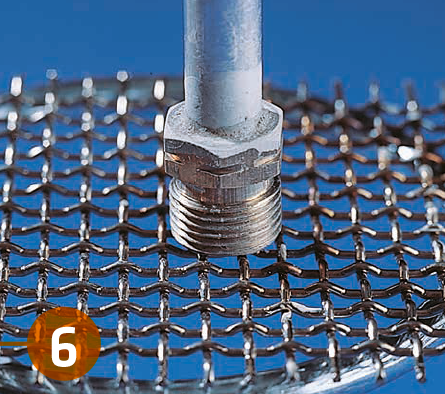
After cooling, no further treatment is required. The flux, although visible is non-hygroscopic and in standard applications non-corrosive. With the brazing conditions optimized, meaning minimal flux residue, the surfaces can be painted with relatively good paint adhesion over the flux residue.
If absolutely desired, the flux residue can be removed, but only by mechanical means such as wire brushing and grit blasting. Removing the flux residue is recommended only when joint cleanliness is absolutely imperative.

Hinterlasse einen Kommentar
An der Diskussion beteiligen?Hinterlasse uns deinen Kommentar!